Philips CD-Players of the first generation
The CD is dead - long live the CD!
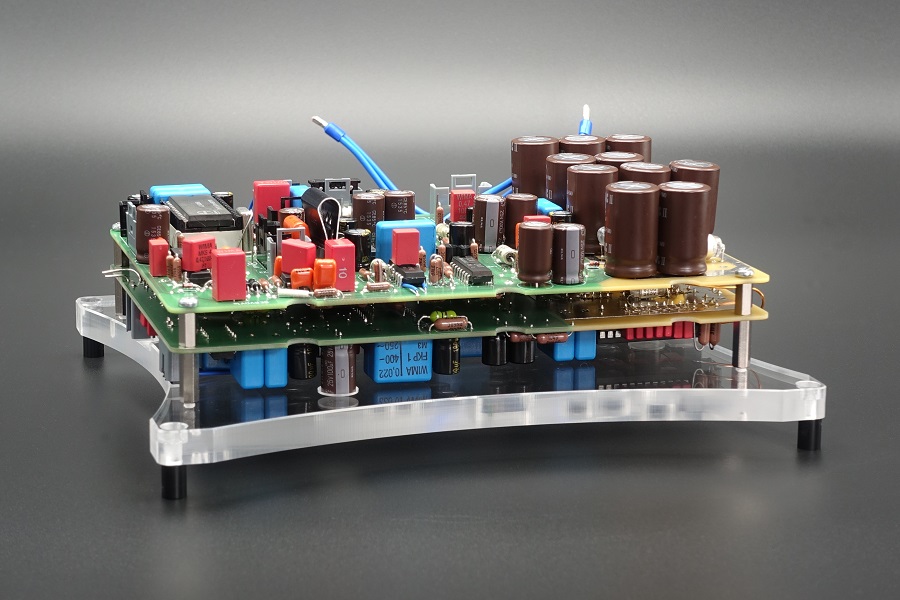
Here I will share my 15 years of experience with the Philips CD-Players of the first generation. Step by step I will modify a CD104 in one of the best CD-Players in the world.
In the beginning
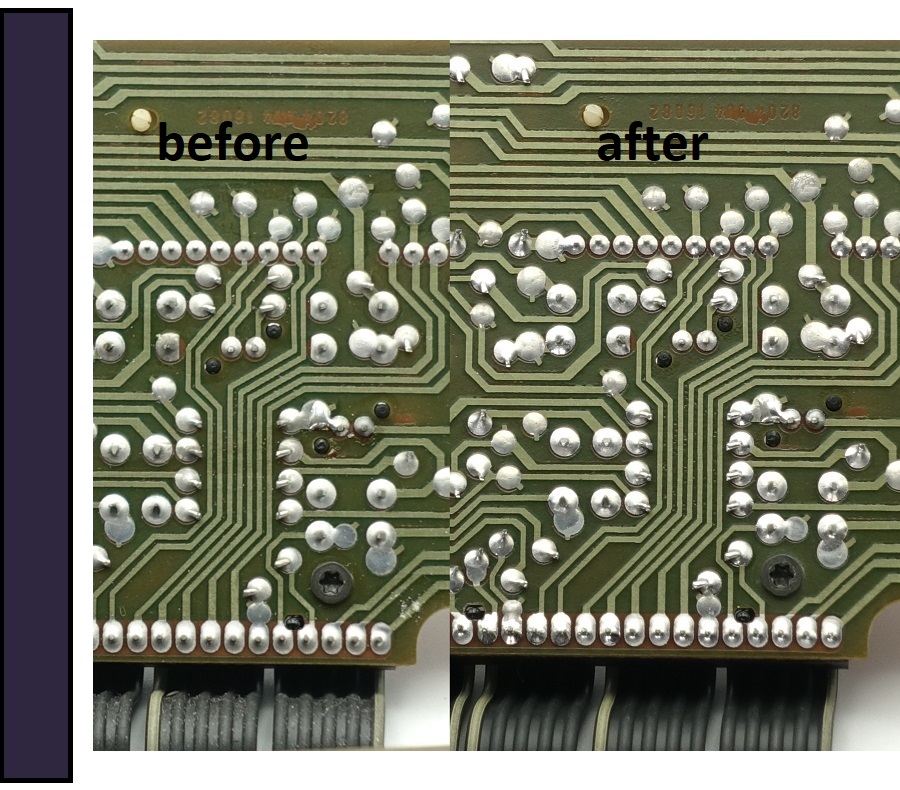
In my work I proceed with the utmost meticulousness. My constant endeavour is to deliver perfect craftsmanship. In a reworked unit you will find neither flux residues nor cold solder joints. You will wait in vain for the famous Philips nudge of the CD tray, because the tray is dismantled, cleaned, greased, adjusted and the motor belt is new.
What you can expect:
- all remaining solder joints are re-soldered
- all pcbs are gently cleaned
- all switches are checked and non-100%-working switches are replaced by new ones
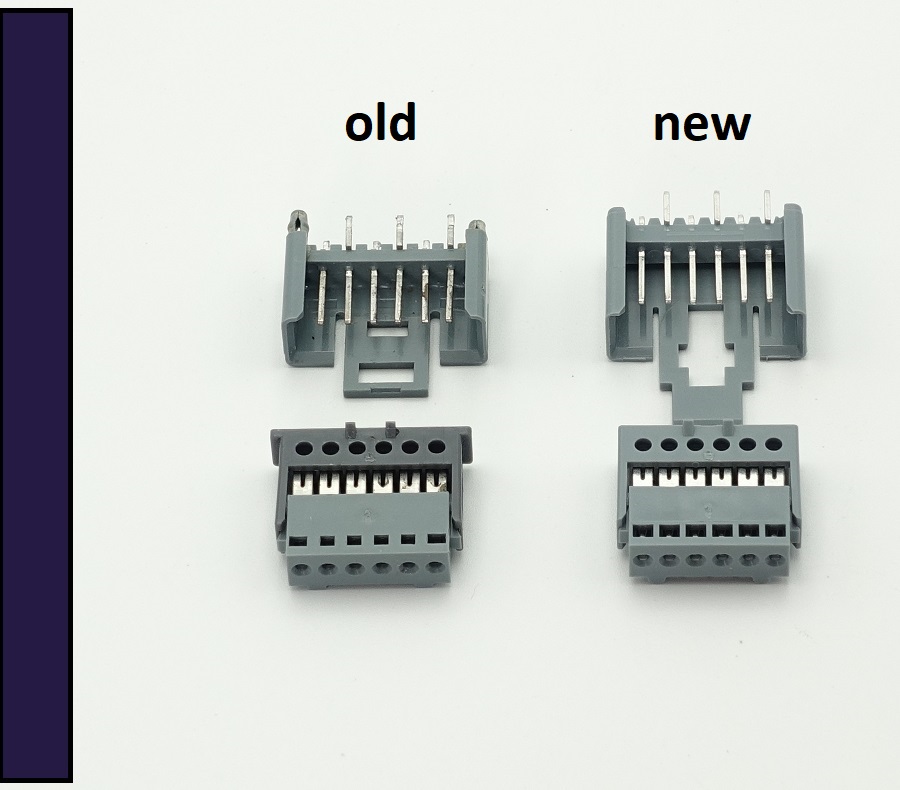
- all plug contacts (Stocko pin trays and female connectors) are checked and replaced by new Stockos if necessary
- all plug contacts are treated with Furutech Nanofluid
- the laser-unit is adjusted to an optimal "eye pattern"
- the axial bearing of the drive motor is replaced by a smoother working Teflon bearing
- the radial bearing of the drive motor is checked and replaced by a new bronze bushing if necessary
- the tray mechanism is cleaned and adjusted, the drive belt is replaced if necessary
1st Stroke: Power Supply and Supply Print
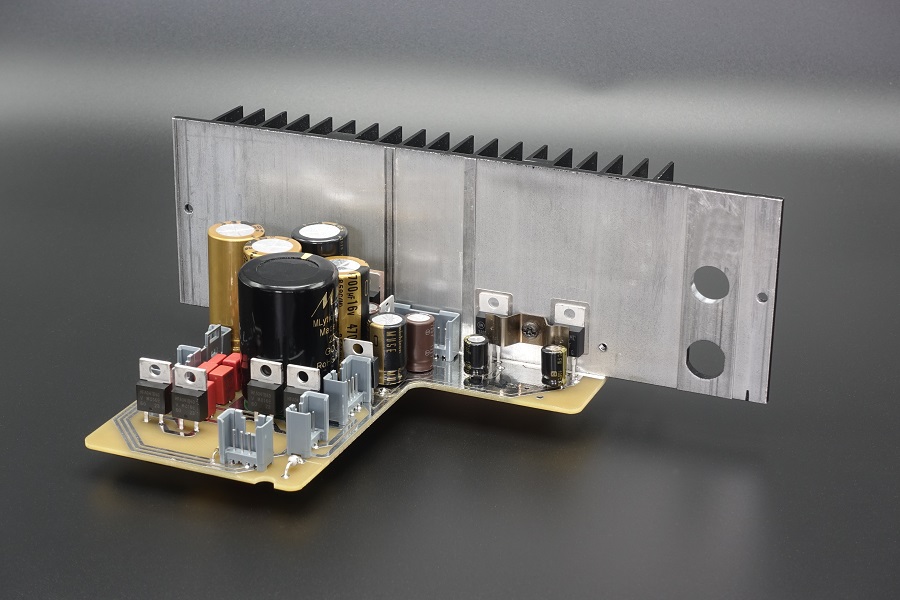
1.1: Power Supply and Supply Print
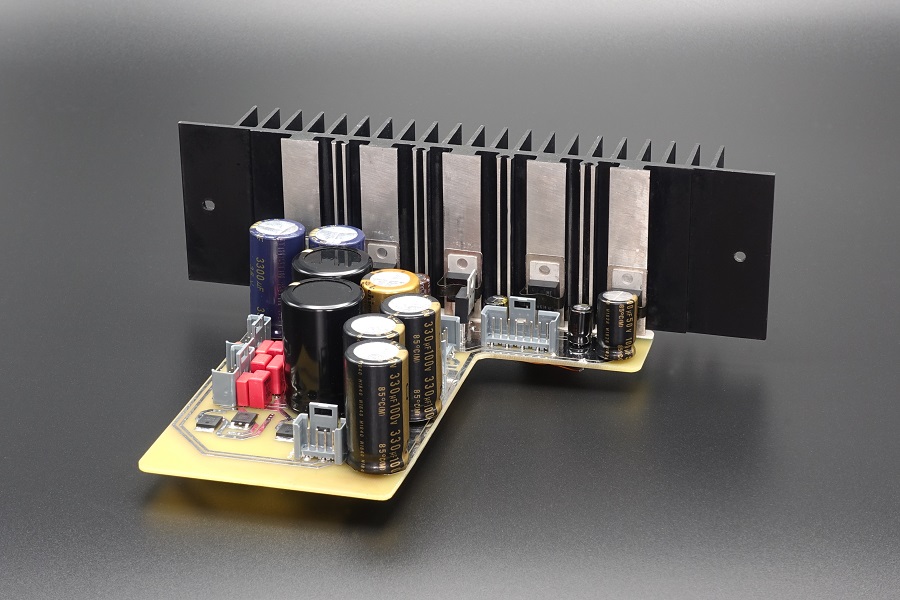
With this modding, the player gets new juice. At least twice the reservoir capacitance of the original capacitors.
Furthermore it gets a nickel-free gold-plated Furutech mains socket to make the player safer and get rid of first weak design points. Also it will fix the fundamental audio theme called: ground loops. The ground of the casing is separated now from the signal-ground and connected to protective earth.
The old voltage regulators will be replaced by new and excellent regulators from ON Semiconductor.
All rectified supply voltages become a measured snubber to prevent voltage transients of the mains transformer. The Ultrafast Soft Recovery diodes support the low snubbing.
Sword of Damocles power supply unit CD304: there are two errors in the circuit that cause the -24V and -18V voltage regulators to be operated above the permissible input voltage. If you look at the "Absolute Maximum Ratings" in the data sheet of these series regulators, a maximum of -40V is permitted for the -24V regulator and a maximum of -35V for the -18V regulator. Unfortunately, the -18V regulator gets -36V. That mostly gets well. But if it fails, clearly more than intended comes out. In the case that is responsible for this hint, it is -24,5V. The TDA1540, which can tolerate -20V at this point (Absolute Maximum Ratings), thanks you for that. The probability of one or both DACs failing is high. How much the first-mentioned regulator is overdriven depends on how the mains transformer is connected and how much voltage the grid operator is currently offering. These errors have been corrected on the new power supply print.
- fixes all ground loops in the supply section
- disconnects the device ground from the signal ground
- all ground connections with screw terminal
- twice the capacitance for all supply rails
- including new voltage regulators from ON Semiconductor
- high-grade audio-capacitors
- high-grade ultrafast HEXFRED rectifiers
- including non-magnetic Furutech mains socket
- ready built in your player
1.2: DC Mains Filter
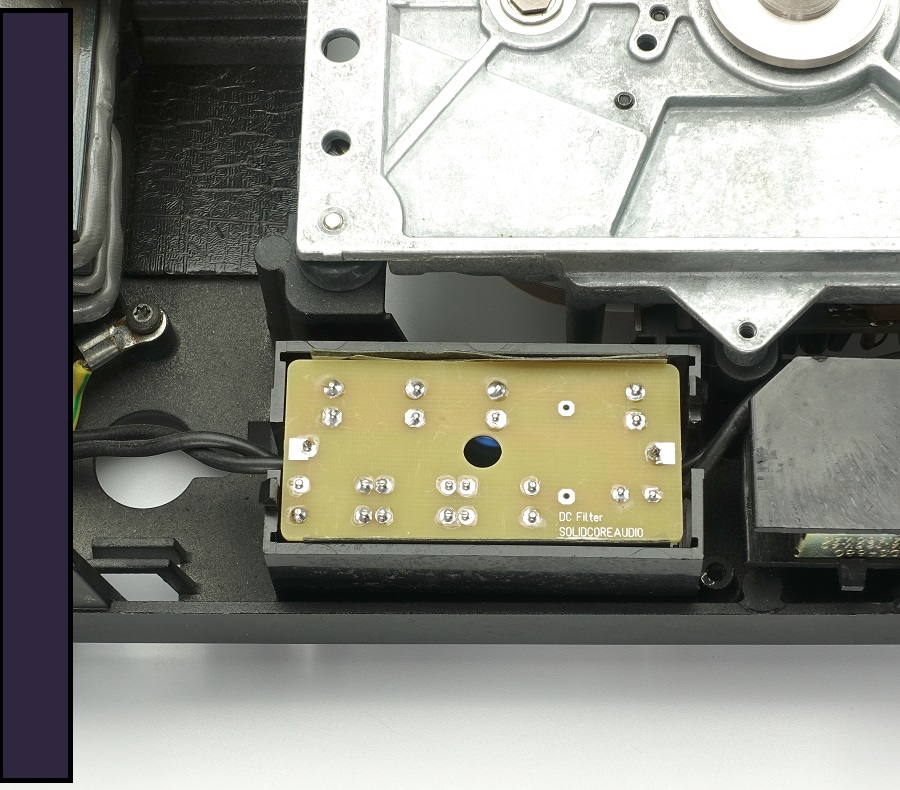
The topic "DC in mains supply" came up while dealing with a phono amp project. Indeed our mains is pure AC in very few cases. Certain consumers generate a zero offset, thus dc-current can flow when equipment is connected. Best example is a hair dryer on "switch position 1". The built in rectifier that throttles performance lets through only one half wave. Problem is, that transformers don't like DC at all due to the core gets premagnetized. With a tight design or a high DC current flowing, the transformer comes into saturation which can be noticed by sporadic humming. Then in High-End Audio it's too late anyway! Relief provides a capacitor which is connect in series(!) in one of the supply lines. Phase or Neutral doesn't matter. The "decoupling-capacitor" blocks all dc current. Some provide a film foil cap in parallel with the electrolytic cap. I deliberately omit this film foil cap and let the electrolytic cap block some of the high frequency debris too!
- 3,000 μF capacity: voltage drop at the cap is 0.15 V
- six antiparallel rectifiers enable a spacious operating area
- mains fuse on board
2nd Stroke: Laser Print and Turntable
Here I deal with the other end or more likely the beginning of the digital signal! The laser print houses the control for the laser diode on one hand. The laser has to emit light as constant as possible. On the other hand it comprises the amplifiers for the signal that is obtained by light interference. This signal splits into the actual data stream that is being demodulated to the digital signal and the tracking-, focus- and motor-information which arre evaluated by the servo board. A good summary of these complex operations is in the Wikipedia entries "CD-Player" and "Compact Disc". A scientific essay by Joerg Asshoff offers a deep insight into the technique (german only).
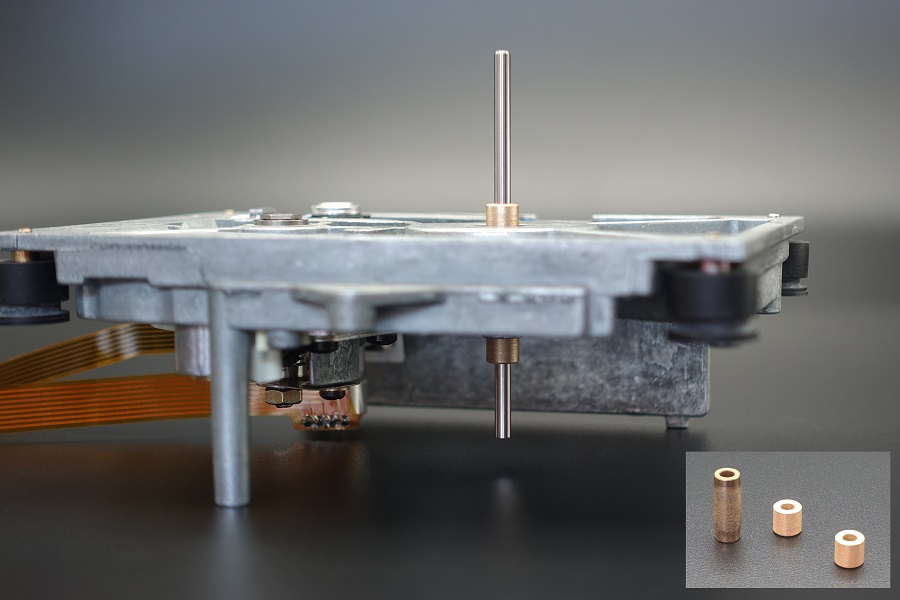
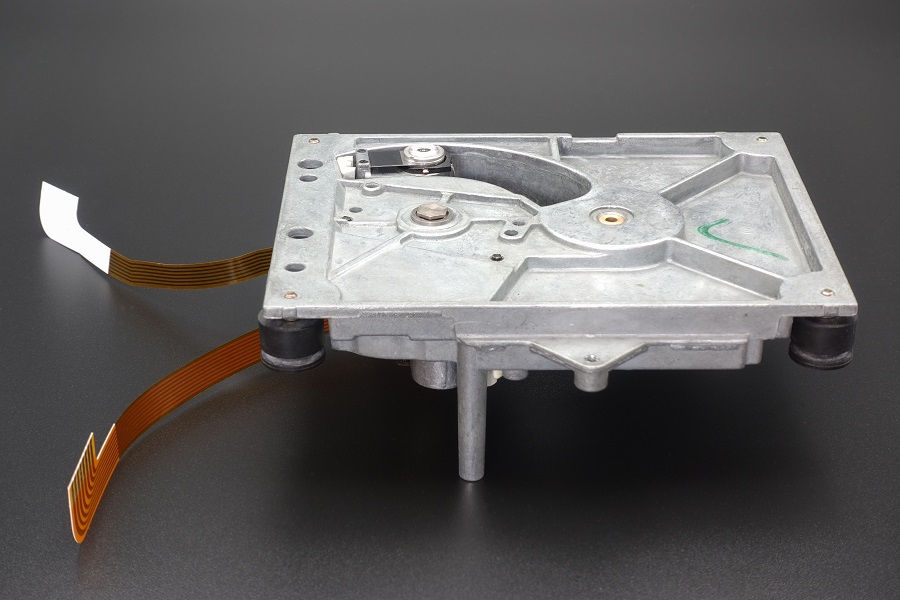
When replacing the laser board, the platter shaft is also checked and if there is noticeable play in the shaft (after half a billion revolutions!), the sintered bronze bushing is replaced with a new one. Low radial play is essential for error-free reading of the audio CD.
The axial bearing is replaced by Teflon. If necessary, cleaning of the inner laser lenses is carried out. This cleaning may be necessary because in 35 years, quite a bit falls down through the gap of the movable focusing lens. Also included is the exact perpendicular adjustment of the azimuth of the RAFOC-unit and its axial bearing clearance.
- separate ground planes for the laser and the sampled data
- precision trimming potentiometer for the laser supply
- correction of the original power supply
- 3-times capacitance for supply
- better op-amp for the servo signals
- high-grade audio-capacitors
- low-noise transistors and resistors for the hf-amplifier
- new axial teflon bearing and new
radial sintered bronze bushing for the turntable - adjustment of the azimuth of the laser
- if necessary cleaning of the
inner laser lenses
3rd Stroke: Servo Print and Output Stage
The servo print is a quite complex circuit. At the latest here arises the question: why new prints? In my opinion there are three good reasons.
On the one hand the prints are, depending on the external circumstances of the last 35 years, exhausted. In some devices solder pads peel off by just looking at them. And the copper side of the pcb tends to become a semiconductor. They are staring literally towards death. The pcb material of today pledges easily another 35 years.
On the other hand every single component in a high-end device will leave its acoustic signature! No matter where it is. That makes sense due to the fact there is only one common ground and the output stage and the servo and all other modules have to share the same supply voltages. To get rid of all suboptimal sounding components (e.g. ceramic capacitors) there is a lot of solderwork ahead. Or new circuit prints!
The third good reason is the possible higher integration of the circuit. This gives way for additional components, e.g. to stabilise the supplies. And it gives way for the new output stage on the servo board.
- separate ground planes for servo and outputstage
- lots of capacitance for all ICs
- ultrafast WIMA FKP-caps to decouple the digital components
- high-grade audio-capacitors and resistors
- no solder mask on the output stage area
- outputstage with high-end op-amps
- Rhopoint wire-wound resistors for the I/V conversion
- incl. high-grade decoupling-cap
- ready built in your player
RCA socket
Classic Harmony
4th Stroke: Decoder Print
The decoder print demodulates the HF-signal and brings it in a format that can be transformed in an analog signal by a DAC. But first it passes an error correction chip with appended data storage. These chips also create the drive speed.
As its name implies, there are digital processes taking place on the decoder print. These processes have very specific demands regarding power supplies. Thus digital impulses have very high slew rates, with an inadequate decoupling voltage drops in the supply rails are inevitable. To prevent from this, I have installed PowerPacks for every single IC and every supply voltage.
Of course this PowerPack is also used for the ultra precise lowjitter TentLabs Masterclock with it's separate supply voltage.
Before the digital signals enter the TDA1540 DAC, they pass a circuit to attenuate themself by 50%. Attenuating sounds negative at first, but this added circuit brings a less stressfull sound quality, due to less crosstalk from digital to analog parts in the DAC.
I have relocated the IC for the negative 18V reference voltage for the TDA1540 from the power supply print to the decoder print. The 5V digital supply for the DACs becomes its own supply rail to the print.
All parts left / right are paired for maximum channel equality.
The Oversampling IC SAA7030 of course does not find a place on the new board. The player is now switched to non oversampling mode.
- separate ground planes for decoder and DACs
- PowerPacks for the supply voltages of all ICs
- high-grade audio-capacitors and resistors
- no solder mask on the DAC stage area
- attenuation for the digital signals
- from DAC on all parts paired left / right
- negative 18V supply voltage relocated
- ultraprecise lowjitter TentLabs Masterclock
- NOS: Non-Oversampling Mode
- ready built in your player
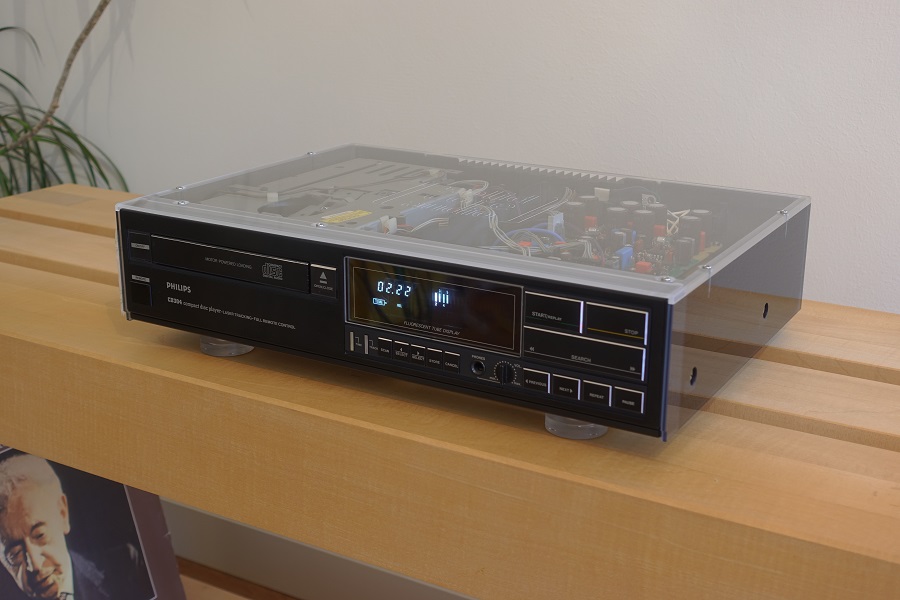
5th Stroke: Acrylic Glass Tuning
5.1: Acrylic Cover
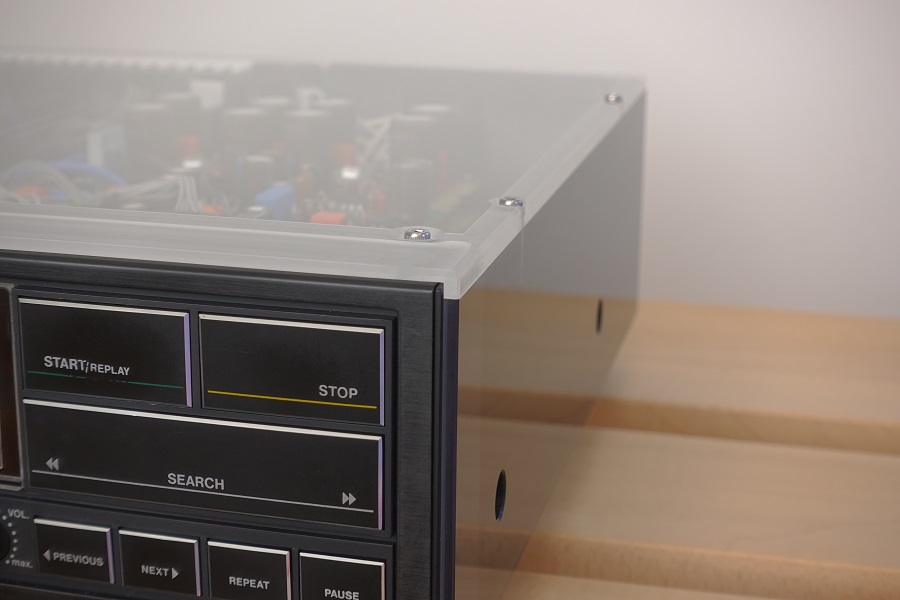
At last ... a new lid for the Philips Cd players. A customer kept working on me until I came up with an idea to realise this in a reasonable way. By default, the side panels are made of tinted acrylic and the lid is transparent with my logo. But of course there are other options. The assembly may require some effort. Unfortunately, the M3 threads of the lid fastening are sometimes no longer intact. In this case, a new M4 thread should be cut. Some skill is also required for assembly. The costs for this are listed separately.
- Side walls made of 8mm, top section made of 6mm thick acrylic glass
- cast low-stress acrylic glass
- dampens unwanted vibrations / resonances
- prevents induction currents in the enclosure
5.2: Acrylic Bottom Lid with Isolation Feet
The acrylic bbottom lid replaces the original sheet metal lid, which simply cannot be quieted on these machines. Three recesses / calottes are milled into the lid. With the isolation feet a good decoupling from the ground is created. The sound image gains clarity and definition. Fine tuning is possible with various balls supplied.
- new acrylic bottom lid
- with integrated isolation feet
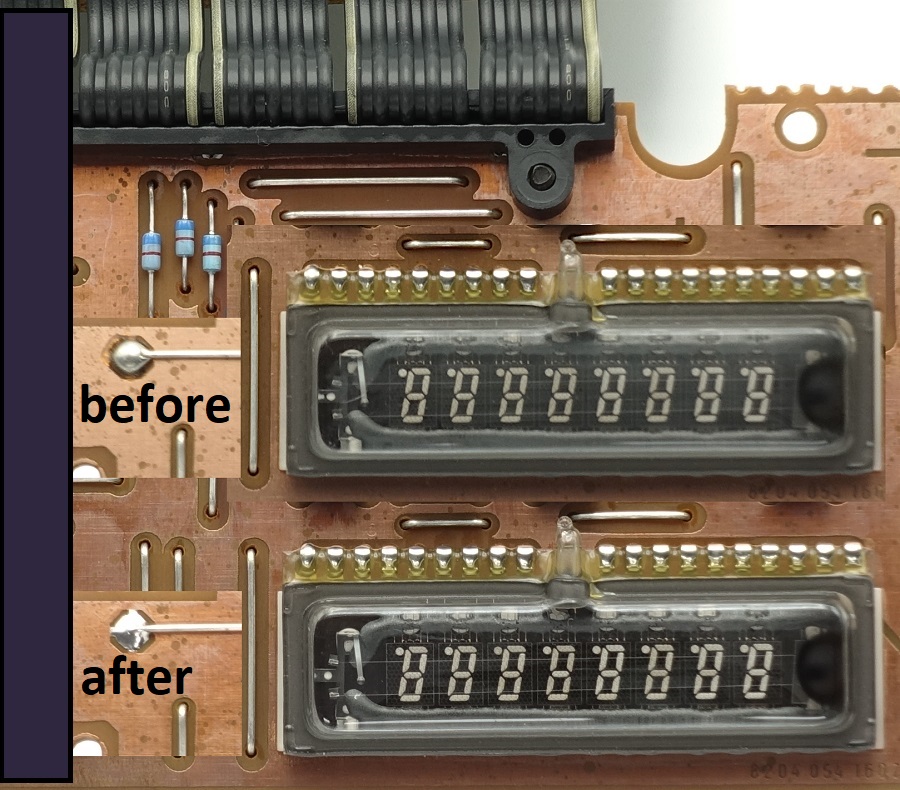
5.3: New Displayglass for the CD304
The old glasses are all yellowed. Manufacturers give a 30-year guarantee against yellowing on acrylic glass.
Mr Schlüter from nanocamp, has created a video on YouTube showing how to change it.
6th Stroke: Separation of CD player and power supply
6.1 Separate Power Supply
In order to achieve a further increase in sound quality, it is necessary to separate the power supply unit and the voltage stabilization from the actual CD player. A “smart” power supply unit simply needs a lot more space. And a smart power supply starts with switching it on.
Switching on
is designed so that there is a sacrificial contact and a working contact. The first takes the inevitable switch-on spark. After a time delay, when the electrolytic capacitors are charged, the second and actual working contact is switched.
The Transformation
is performed by two R-Core transformers. One exclusively supplies the output stage and generates the reference voltage for the DACs. The other has to handle the rest. R-Core has several advantages. The round iron and the basic shape, to which the “R” in the name presumably refers, are striking. It is rectangular. R-Core have a high efficiency, very good magnetic coupling and are symmetrically wound.
The Regulation
of the voltages is done in a complex discrete circuit. The visible three-legged components are not voltage regulators but mosfets. Most of the components are located on the underside of the circuit board. The circuit is 10 times quieter than conventional voltage regulators. And considerably more powerful due to the mosfets.
Another advantage of this separation is that the player and the sensitive electronics no longer experience the unavoidable 100 Hz hum of the mains transformer.
- non-magnetic Furutech mains socket with fuse holder
- module for "lossless switching-on"
- R-Core transformers for efficient voltage conversion
- discrete voltage regulation with mosfets
6.2 The Drive
is now doing its rounds in its own housing.
The Housing
consists of four acrylic plates. These are connected to each other by 10 fitting screws. There are damping rings between the layers.
The Drive
has removed the drawer mechanism. In the original player, this is a major sound inhibitor, presumably because vibrations via the contact puck negatively affect the scanning process. The CD player has obviously become
Top Loader
A puck holds the CD in the correct position during the scanning process.
More about the topic Philips CD player:
Here the original CD 104 Service Manual. (5.5MB!)
The "Servicing the Philips CD 104" is a nice collection of useful tips for troubleshooting. (2,8MB!)
dindiki offers information on the topic "maintaining the CDM-1 drive".
Ryohei Kusunoki explains why Non-Oversampling is better.
CD - Tweaks
Some things get stuck with you. In High-End Audio as elsewhere in life, this is a clear sign that something is working. Here are some tweaks for better CD-sound:
CD washing machine
CDs are clean, when freshly bought ... or not? Since years I use the CD washer "Hydrobath 1120". Here little Youtube-video how this works.
Blacken the CD edge
All you need is a black Edding 500 or similar waterproof felt tip. If you want to take it exactly, you can also blacken the blank area on the outside which can be easy observed under some LED-lamps.
CD-mat
to be placed on top of the CD ... I use this one.
CD cryo-treated
Cryo treatment doesn't only work with metal. Also other materials "relax" when deep temperature treated. It works also with CDs due to they are read optically and thus refraction of light in the CD medium is of importance.
Chamfer CD edge
The idea is old: Due to the information on a CD is read by laser and the principle of interference, it is a good idea, to reduce stray light as much as possible. Audiodesksysteme Glaess once offered such a device to chamfer the edge of the CD in a certain angle to reduce flare. This had the positive side effect, that the CD was also balanced after procedure.
During my research, I found another (and cheaper) method of reworking CDs. Originally posted by Volker Bajorat of Clockwork Audio. Here is the instructions (german only).
